Spring is always a great time to teach about nature and natural sciences. It provides the best backdrop for first hand observation of weather changes, animal habits etc.
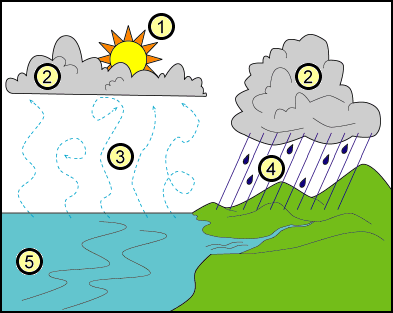
For those of you teaching the Water Cycle (usually 4thgrade according to Utah’s Core Curriculum Standards) I have found some great hands on activities to add into your curriculum unit from the Project WET activity guide.
Not teaching the water cycle? No problem! These activities can be stand alone and are fun for any age and in any setting.
A-maze-ingWater
(Elementary and Middle school)
Summary: “Students guide a drop of water through a maze of “drainage pipes” to learn how actions in the home and yard affect water”
Option 1:Set up a maze with chairs inside the classroom, or use chalk etc to mark a maze outside on the blacktop. The maze should have one start and two exits, a river and a treatment plant. After a discussion about what happens to run off water, assign students to represent water and storm drains. Storm drain students stand on the outside walls of the maze.Water students run through the maze. As the water students pass by the storm drain students, the water students are tagged with pieces of paper, stickers etc that represent polluted runoff. The students who exit through the treatment plant exit get cleaned, whereas the others do not. What happens to the water? Does it always make it to the treatment plant?
Option 2: Prepare ahead of time, or have the students make mazes using wax covered cardboard and clay for walls. Make sure all mazes have one start and two exits,the river and the treatment plant. Let drops of salt, pepper, sugar and fooddye solution dry on the mazes in a few spots (representing sewage drains). Have students navigate a clean drop of water through their maze. What happens to the water? Does it always make it to the treatment plant?

Common Water
(Elementary and Middle School)
Summary: “Students analyze the results of a simulation to understand that water is a sharedresource and is managed”
This is an outdoor activity
Fill a largebucket to the brim with water, this bucket represents water stored in a reservoir, pond, lake etc. Students will simulate changes in a water shed over several time periods, each 30 second round represents a different time period (past topresent). In each round, students representing different water users will use sponges to squeeze water into their smaller buckets. This represents water consumption. At the end of each round half of each smaller bucket will bepoured back into the main bucket, representing water that makes it back throughthe soil, rain, run off etc. Discuss the amount of water used for each round, by each player and the color (pollution) and record data after each round. Refill the main bucket with clean water to represent how nature eventually cleans and replenishes itself before each round.
Round scenarios:
- 200 years ago: 3 students (homesteaders) with 1/4 of a sponge each
- early 1900's: 6 students (small town) 1/4 sponge each, 1 student (large farm) 1/2 sponge
- After WWII: 10 students (town residents) 1/3 sponge each, 4 students (factory, hospital, school, store) 1/2 sponge each, 3 students ( 2 large farms, power company) 1 sponge each.
- Present day: same as above, plus 1 or 2 more services/stores (1/2 sponge) and the rest of class as residents (1/4 or 1/3 sponges)
Need more info?
You can find more information on these activities, with the complete directions, material list, learning objectives and adaptations in theProject WET curriculum and activity guide.
Project WET, an environmental education curriculum and activity guide, has some great lessons that you can easily slide into any curriculum unit for any subject. The great part is, they are made to be hands on and use higher level thinking skills!
To learn more and see upcoming workshops, visit USEE’s Project WET page.
-Holly
No comments:
Post a Comment